

Getting a new AC system is one of the bigger investments you’ll make in your home, and in Southwest Florida, it’s not optional. Between the humidity and the year-round heat, your cooling system does more than keep you comfortable. It protects your home, your health, and your sleep. But if you’ve never been through the ac installation process step by step, the whole thing can feel like a black box. You hand over a check, strangers show up with equipment, and somehow cold air starts flowing. Knowing what actually happens during that process puts you in a much better position as a homeowner.
At Air Necessity, we’ve installed systems across Lee, Collier, and Charlotte Counties for years. Our technicians aren’t on commission, which means no one’s rushing through steps or cutting corners to move on to the next job. We walk homeowners through every phase because we believe transparency builds trust, not sales pressure.
This guide breaks down each stage of a professional AC installation, from the initial assessment to the final system test. Whether you’re replacing an aging unit or installing a brand-new system, you’ll know exactly what to expect and why each step matters. That way, you can ask the right questions, spot red flags early, and feel confident about the work being done in your home.
Before you start: safety, DIY limits, and tools
Before you follow the ac installation process step by step, you need to understand where the legal and safety lines sit. AC installation is not like swapping a light fixture or replacing a faucet. Refrigerant handling, high-voltage electrical work, and structural mounting all carry real consequences when they go wrong. In Southwest Florida, skipping a permit or hiring an unlicensed contractor can create serious problems when you sell your home or file an insurance claim. So before anyone touches a single piece of equipment, know what’s allowed and what isn’t.
What the law actually says about DIY AC work
Federal law under EPA Section 608 prohibits anyone without a certified technician license from purchasing or handling refrigerants like R-410A or R-32. This restriction applies to homeowners as well, not just contractors. If a system needs to be charged or if refrigerant must be recovered from an old unit, that work legally requires a certified professional. There’s no workaround, and attempting it without certification puts you in violation of federal environmental regulations.
Beyond federal rules, Florida requires licensed contractors to pull permits for new AC installations and major system replacements. Permits trigger a mandatory inspection by your local municipality, which confirms the work meets current building and electrical codes.
If a contractor offers to skip the permit to save you money, treat that as a serious warning sign. Permitted work protects your investment, not just the contractor’s liability.
The tools a professional brings (and why they matter)
Professional AC installation requires specialized equipment that most homeowners don’t own and can’t easily rent. Each tool serves a specific function in the process, and using the wrong tool or skipping a step creates failures that may not surface until months after installation. Here’s what a qualified technician typically brings to a residential job:
- Manifold gauge set: measures refrigerant pressure during charging and identifies leaks in the line set
- Vacuum pump: removes moisture and air from the refrigerant lines before charging, which is a critical step that cannot be skipped
- Flaring tool and pipe cutter: cuts and shapes copper refrigerant lines for a leak-free connection at each fitting
- Digital multimeter: verifies voltage, continuity, and electrical connections at the air handler and the outdoor disconnect
- Torque wrench: tightens flare fittings to the manufacturer’s specification without over-tightening and cracking the fitting
- Nitrogen tank: pressure-tests the line set before refrigerant is ever introduced to the system
- Level and mounting hardware: confirms both the indoor and outdoor units sit correctly for proper drainage and operation
Skipping the vacuum step alone can introduce moisture into the refrigerant circuit, which causes acid buildup inside the compressor and leads to premature failure within a few years. These tools aren’t optional extras; they’re what separates a reliable installation from one that breaks down early.
How to prepare your home before the technician arrives
You can’t do the technical work yourself, but you can make the job run faster and cleaner with a few simple steps before the crew arrives. Preparation matters more than most homeowners realize, especially in tight utility rooms or cramped attic spaces.
Use this checklist before your installation appointment:
- Clear a 3-foot path from your front door to the air handler location (closet, attic, or utility room)
- Move stored items away from the outdoor pad or the area where the condenser will be placed
- Make sure your main electrical panel is accessible, since the technician will work at the breaker during wiring
- Secure pets in a room away from all work areas
- Locate your thermostat and confirm it’s reachable, since the installer will wire and program it during commissioning
- Have your existing equipment manual or model number ready if you’re doing a replacement
Good preparation shortens the job, reduces the chance of damage to your belongings, and gives the technician room to work safely. It’s a small effort that makes a real difference in how smoothly the installation goes.
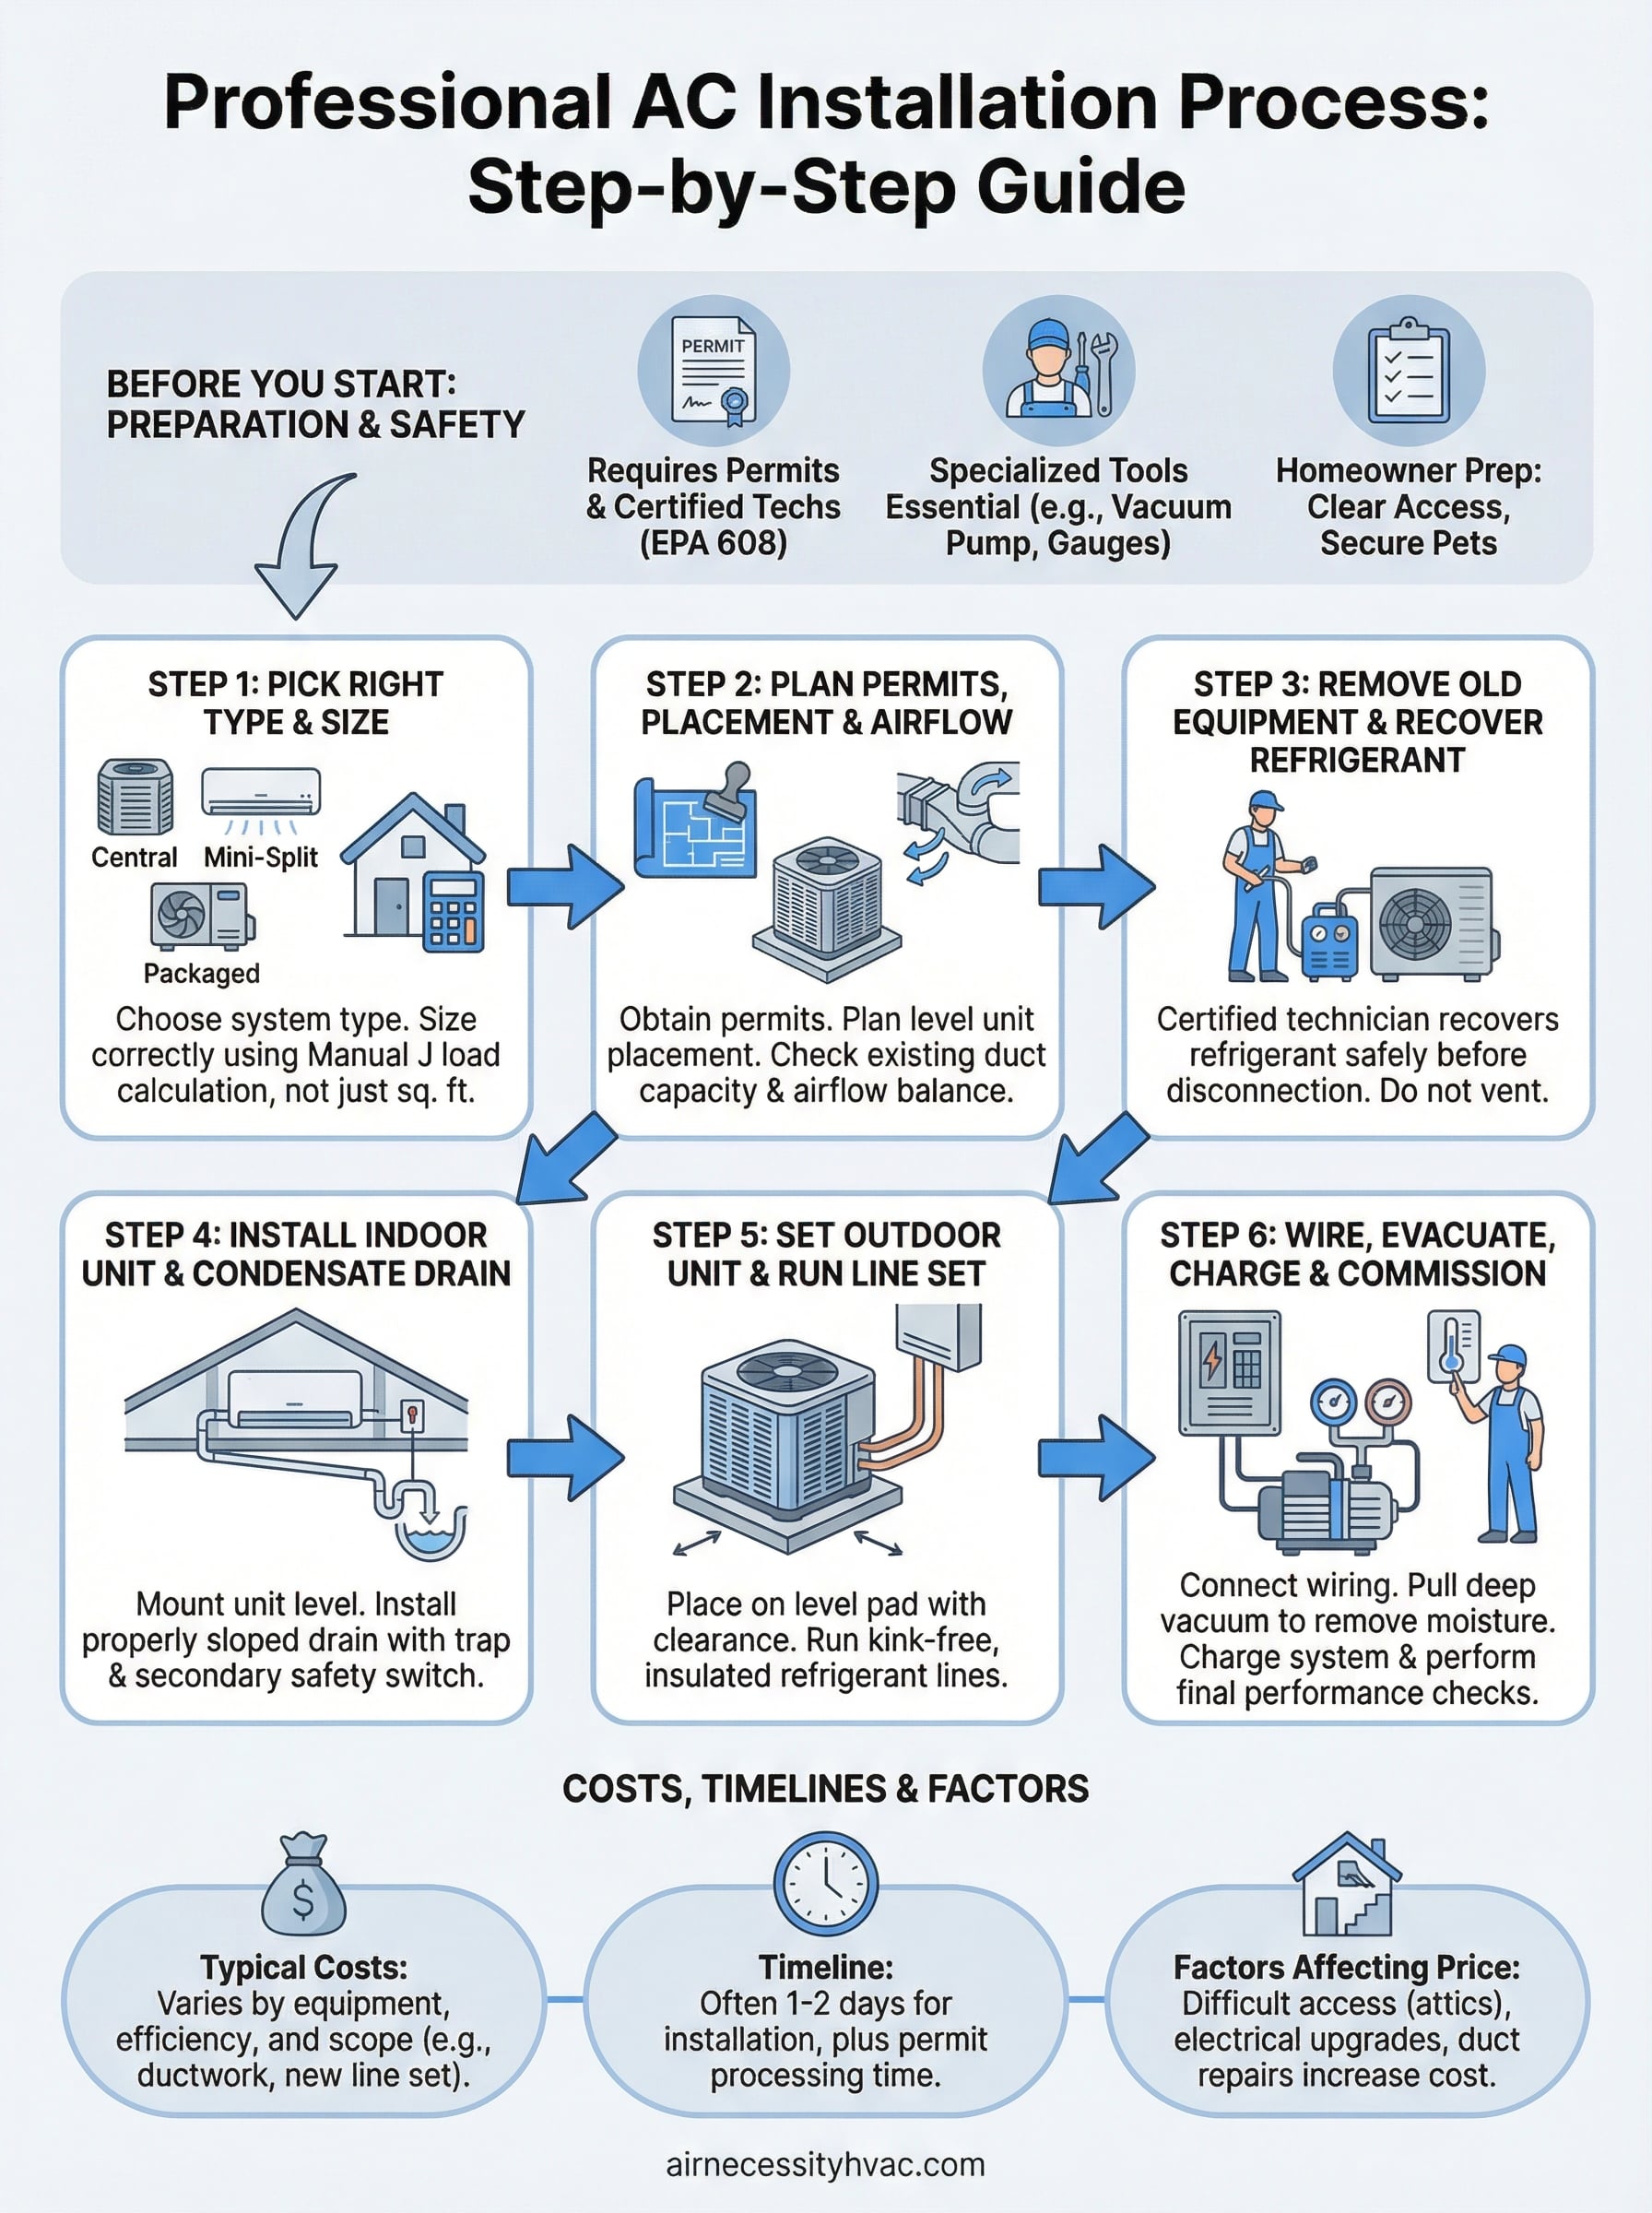
Step 1. Pick the right AC type and size
The first decision in any ac installation process step by step is choosing the right equipment. Getting this step wrong affects everything that follows, from how your system performs to how long it lasts. In Southwest Florida, where your cooling system runs most of the year, choosing undersized or mismatched equipment creates a cycle of short-cycling, humidity problems, and early mechanical failure.
Which system type fits your home
Three main system types cover most residential installations: central split systems, mini-split systems, and packaged units. A central split system separates the air handler (indoors) from the condenser (outdoors) and distributes cooled air through ductwork. This is the most common setup in homes that already have ducts in place.

A mini-split (ductless) system works best for homes without existing ductwork, room additions, or spaces that need independent temperature control. It uses a wall-mounted indoor unit connected to a smaller outdoor condenser via a refrigerant line set. Packaged units combine all components into one outdoor cabinet and are a common choice in Florida homes built on slabs with limited attic space.
| System Type | Best For | Ductwork Required? |
|---|---|---|
| Central split | Homes with existing ducts | Yes |
| Mini-split | Additions, no ductwork | No |
| Packaged unit | Slab homes, limited attic space | Yes |
How to size your system correctly
Sizing an AC system means matching its capacity, measured in tons or BTUs, to your home’s actual cooling load. Bigger is not better with air conditioning. An oversized unit cools the space quickly but shuts off before it removes enough moisture from the air, which is a serious problem given Florida’s consistent humidity levels.
A proper load calculation using Manual J software is the industry standard for sizing. Any contractor who skips this and quotes a system size based on square footage alone is cutting a critical corner.
Manual J calculations factor in your home’s square footage, ceiling height, insulation levels, window count and orientation, local climate data, and the number of occupants. Ask your contractor to provide the load calculation report before you agree on an equipment size. If they can’t produce one, ask why before you sign anything, because a correctly sized system is the foundation every other installation step builds on.
Step 2. Plan permits, placement, and airflow
Planning is where most installation problems actually start. Before any equipment moves into your home, your technician should map out permit requirements, unit placement, and how air will flow through your space. Skipping or rushing this phase is one of the most common reasons a system underperforms, even when the equipment itself is high quality. In the full ac installation process step by step, planning is the work that makes every physical step cleaner and safer.
Pulling permits and scheduling inspections
Every residential AC installation in Florida requires a permit, and your contractor is legally responsible for pulling it before work begins. The permit triggers a municipal inspection once the job is complete, confirming the installation meets current electrical and mechanical codes. This step protects you when you sell your home and when you file an insurance claim after a storm or fire.
If a contractor skips the permit to save time or money, you carry all the legal and financial risk, not them.
Ask your contractor for the permit number before installation day so you can verify it was actually filed. The process typically takes one to three business days in Lee, Collier, and Charlotte Counties, so factor that window into your overall timeline.
Placing the indoor and outdoor units correctly
Indoor unit placement determines how effectively conditioned air reaches every room. The air handler needs to sit level, near a drain line exit point, with enough clearance around it for service access. In most Florida homes, that means a utility closet, a dedicated mechanical room, or an attic platform.
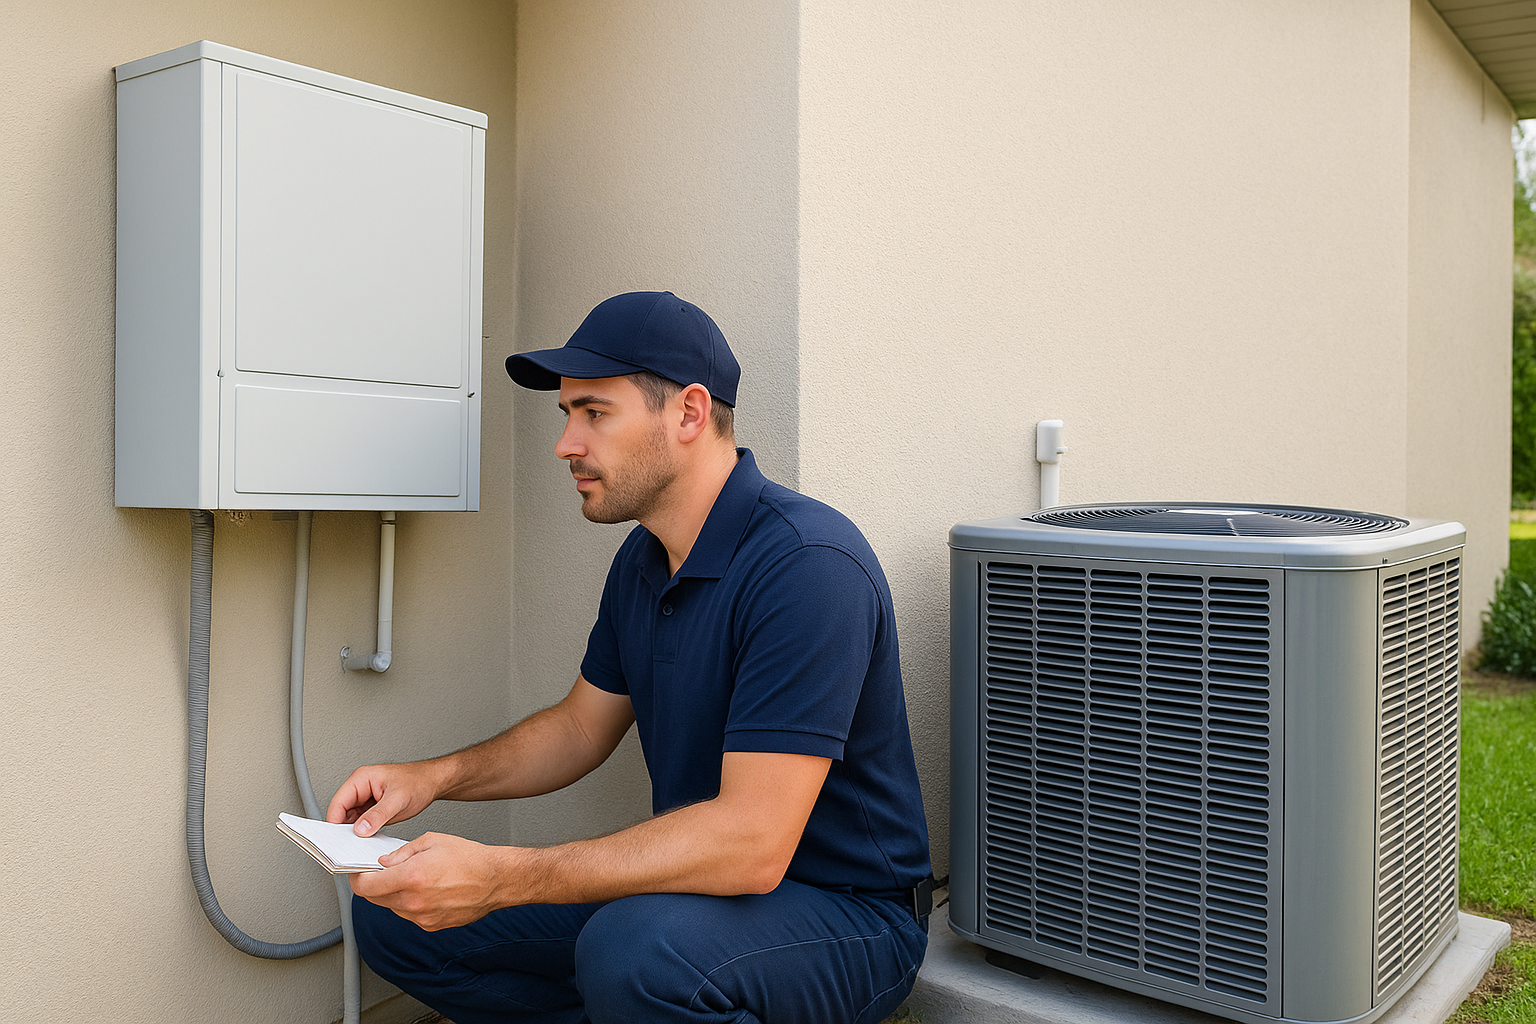
Outdoor condenser placement follows a separate set of rules. The unit needs a firm, level surface, typically a concrete pad, with at least 18 to 24 inches of clearance on all sides for airflow around the cabinet. Keep it away from dryer vents, kitchen exhaust fans, and dense shrubs that restrict air intake.
Checking duct capacity and airflow balance
Your technician should walk your existing duct layout and confirm it can handle the new system’s airflow requirements. Undersized or leaking ducts create pressure imbalances that force the system to work harder and drag down efficiency. The contractor should check for major duct leaks, blocked return air paths, and register placement before installation begins.
- Confirm return air vents are adequately sized for the new system’s output
- Check that supply registers are open and unobstructed in every room
- Identify rooms that consistently run hot or cold as a starting point for airflow corrections
Step 3. Remove old equipment and recover refrigerant
Removing your old system is a more involved step than most homeowners expect. Refrigerant recovery must happen before any disconnection begins, and that work requires both specialized equipment and a federally certified technician. This step in the ac installation process step by step sets a clean baseline for the new system, so rushing it creates problems that follow you through every step after.
How refrigerant recovery works
Before any lines are disconnected, the technician connects a recovery machine to the existing refrigerant circuit and pulls all remaining refrigerant out of the system into a certified recovery cylinder. This process complies with EPA Section 608, which prohibits venting refrigerant into the atmosphere. The recovery machine captures both liquid and vapor phase refrigerant, and the process typically takes 15 to 45 minutes depending on system size and how much refrigerant remains.
You should never allow a contractor to vent refrigerant into the air. It violates federal law and signals a technician who is cutting corners in other areas too.
Once the refrigerant is recovered, the technician will document the recovered amount on a service record. If the new system uses a different refrigerant type, the old refrigerant goes to a certified reclaimer. Ask your contractor for that documentation before they move to the next step.
Removing and disconnecting the old system
With the refrigerant secured, the technician powers down the system at the main breaker and the outdoor disconnect box before any physical removal begins. The line set connections are cut or unbraised at both the indoor and outdoor units, and the electrical wiring is labeled and pulled from the air handler cabinet. If the old unit is being replaced in kind, the technician will assess whether the existing line set, electrical wiring, and drain line can be reused with the new equipment.
Here’s what the technician checks before reusing existing components:
- Line set condition: no kinks, corrosion, or oil contamination from a failed compressor
- Wire gauge: must match the new system’s electrical requirements per the manufacturer spec
- Drain line: checked for clogs, cracks, and proper slope toward the drain point
- Disconnect box: confirmed rated for the new system’s amperage draw
Reusing a contaminated line set from a failed compressor pushes debris and acid into the new system immediately, which causes the replacement compressor to fail the same way. When in doubt, your contractor should recommend replacing the line set rather than risking the new equipment.
Step 4. Install the indoor unit and condensate drain
With the old equipment removed and the workspace cleared, the technician moves to mounting the indoor unit. This step in the ac installation process step by step requires precision because even small errors in alignment or mounting affect long-term drainage, airflow, and vibration noise. A poorly mounted air handler can also cause condensate to back up into the unit, which damages the coil, the cabinet, and your ceiling below.
Mounting and connecting the air handler
The air handler mounts onto a platform, brackets, or a hanging assembly depending on your home’s layout. Before the unit goes into position, the technician confirms the mounting surface is level in both directions using a bubble or digital level. If you have an attic installation, the platform must be structurally sound and rated to hold the unit’s operating weight, which typically runs between 60 and 150 pounds for a residential system.
Once the unit sits level and secure, the technician connects the supply and return plenums to the existing duct system. These connections get sealed with mastic sealant or foil tape rated for HVAC use, never standard duct tape, which dries out and fails within a few years. Before moving forward, the technician checks that all duct connections are tight and that no airflow bypasses the filter slot.
Setting up the condensate drain correctly
The condensate drain handles the moisture your system pulls from the air during cooling. In Southwest Florida, that’s a significant amount of water every day. A blocked or improperly sloped drain line will overflow, which can cause water damage to your ceiling, walls, and flooring before you notice anything is wrong.
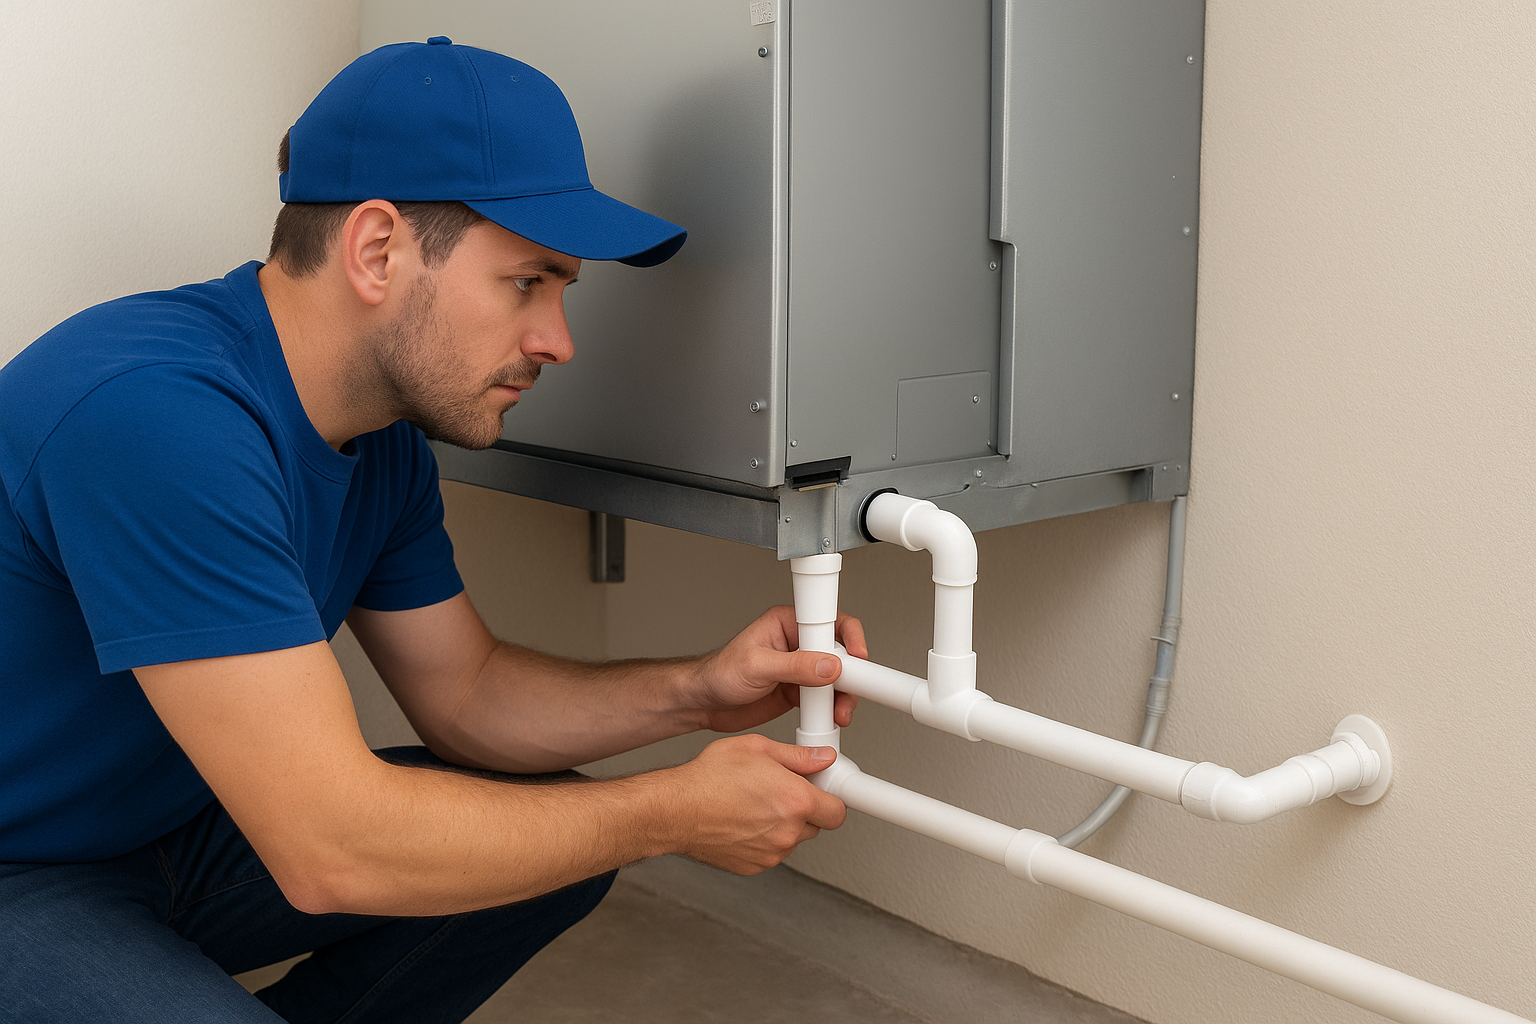
Always confirm your installation includes a secondary drain line or a float switch that shuts the system down before overflow occurs. Florida’s humidity levels make condensate backups a real and common problem.
Your technician will install a primary drain line that slopes at least one-quarter inch per foot toward the drain exit point, whether that’s a utility sink, a floor drain, or a direct outdoor exit. A secondary drain line connects to a separate exit or a safety float switch mounted in the drain pan. Here’s what a properly configured condensate setup includes:
- Primary PVC drain line with correct slope toward the drain point
- Secondary drain line connected to a visible overflow exit or float switch
- Condensate trap on the drain outlet to prevent air from being pulled backward through the line
- Clean-out access point for flushing the line during annual maintenance
Step 5. Set the outdoor unit and run the line set
Placing the condenser and running the refrigerant lines are the most physically demanding parts of the ac installation process step by step. Both tasks require precision, because errors at this stage create refrigerant leaks, reduced efficiency, and premature compressor failure. What your technician does here directly determines how reliably your system runs for the next decade.
Positioning and securing the condenser
Your technician places the outdoor condenser on a level concrete pad or pre-formed composite riser that keeps the unit elevated above the ground. In Southwest Florida, elevation matters because standing water from heavy rain can submerge a low-set unit during storm season. The pad must be firm and stable, because a condenser that rocks or vibrates transmits noise through the refrigerant lines and into the structure.
Never allow a condenser to sit directly on bare soil or loose gravel. Settling shifts the unit out of level and stresses the refrigerant line connections over time.
Clearance around the condenser is equally important. Your technician should confirm at least 18 to 24 inches of open space on all sides and a minimum of 60 inches above the cabinet to allow proper airflow through the coil. Once positioned, the unit gets secured with anti-vibration feet or mounting bolts to prevent movement during operation.
Running the refrigerant line set
The line set consists of two copper pipes that connect your indoor air handler to the outdoor condenser: a smaller liquid line and a larger suction line. Your technician cuts each pipe to the exact length needed, avoiding unnecessary coils or sharp bends that restrict refrigerant flow. Every cut end gets reamed smooth to remove burrs before any fitting work begins.
Here’s what a properly run line set installation includes:
- No kinks or sharp 90-degree bends in the copper tubing along the entire run
- Flared or brazed connections at both the indoor and outdoor unit service ports
- Proper support brackets every 4 to 6 feet along the line set run to prevent sagging
- A protective line set cover or conduit where the lines are exposed outdoors
Insulating and protecting the line set
The suction line must be fully covered with closed-cell foam insulation along its entire length. Exposed copper sweats heavily in Florida’s humidity, which wastes energy and drips water inside walls or along exterior surfaces. Your technician checks every inch of the insulation run for gaps before moving forward.
Any section of line set that runs outdoors also needs UV-resistant protection, either a manufacturer-supplied jacket or a rigid conduit, to prevent the foam insulation from breaking down in direct sunlight within the first year.
Step 6. Wire, evacuate, charge, and commission
The final technical phase of the ac installation process step by step brings all the hardware together and confirms the system actually works correctly. Wiring, vacuuming, charging, and commissioning are sequential steps, and each one depends on the previous one being done right. Rushing any part of this phase is where most installation failures originate, even when every prior step was handled well.
Wiring the system
Your technician runs low-voltage control wiring from the air handler to the thermostat and from the air handler to the outdoor condenser using a multi-conductor cable rated for HVAC use. The wire gauge and number of conductors must match the new system’s control board requirements exactly. Your technician also connects high-voltage power to the outdoor disconnect box and the air handler circuit at your main electrical panel, using the correct breaker size listed on the equipment’s nameplate data. After all connections are made, a digital multimeter verifies voltage and confirms no wiring faults exist before the system powers on.
Pulling a vacuum and pressure testing
Before any refrigerant enters the line set, your technician connects a vacuum pump to the service ports and pulls the system down to at least 500 microns to remove all moisture and atmospheric air from the copper lines. This step typically takes 30 to 60 minutes. Once the target vacuum level is reached, the technician isolates the pump and monitors the micron gauge for 15 minutes to confirm the system holds without rising, which would indicate a leak or residual moisture.
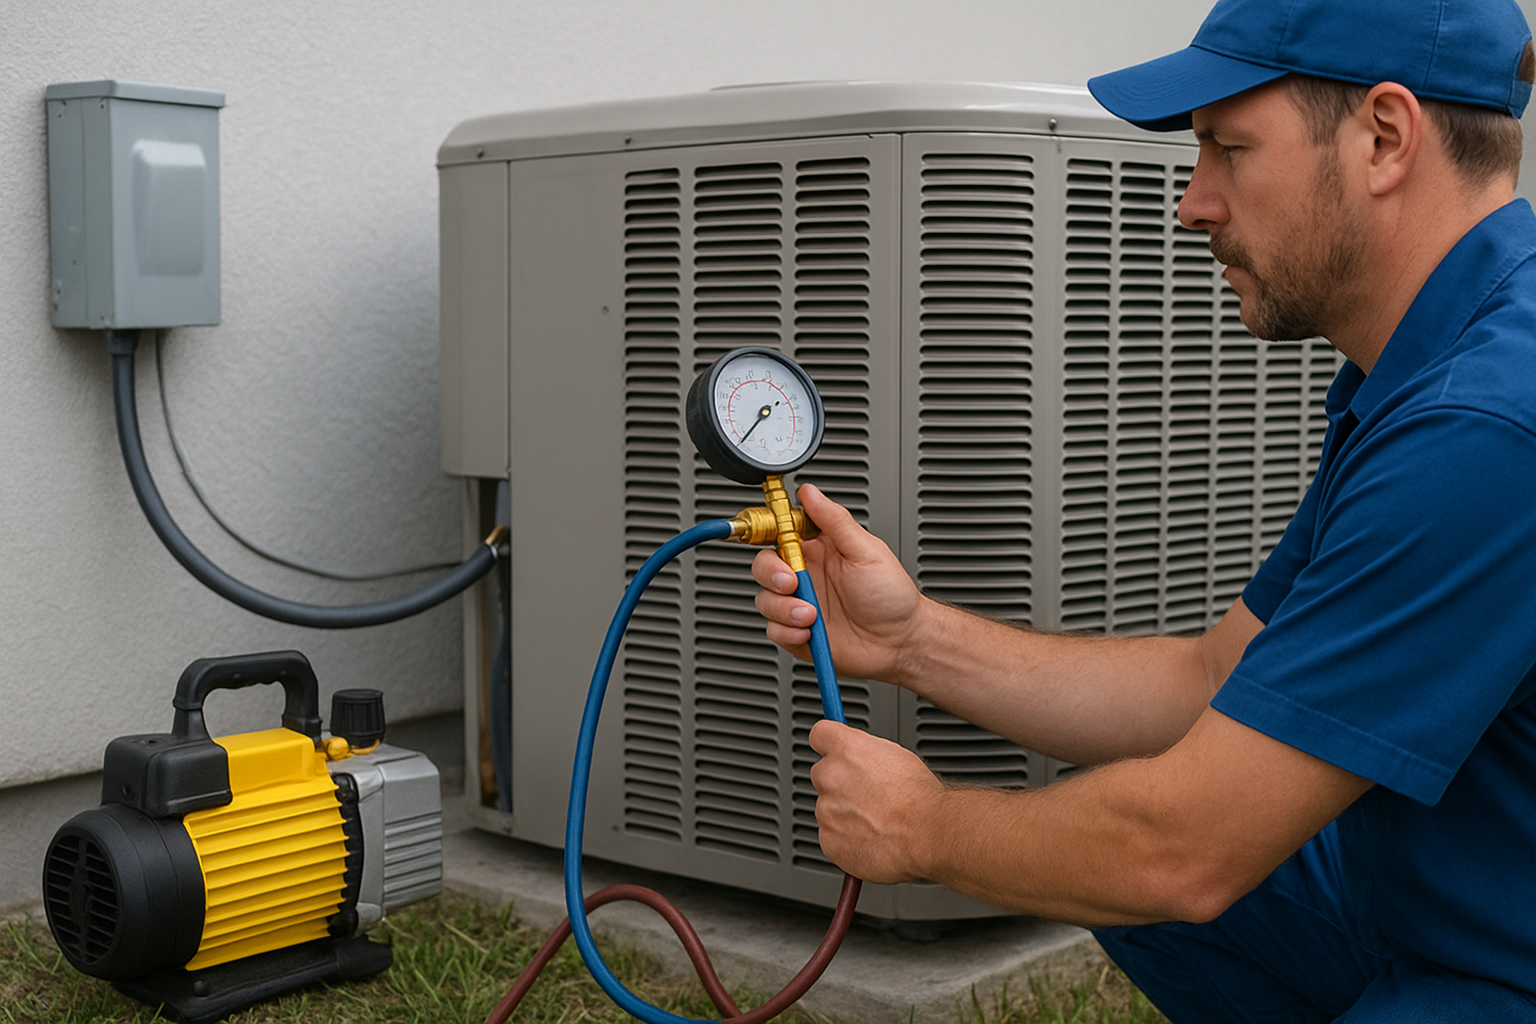
Never allow a technician to skip the vacuum step or cut it short. Moisture left in the refrigerant circuit converts to acid under operating pressure and destroys the compressor from the inside.
Charging the system and running commissioning checks
Once the system holds vacuum, the technician opens the factory-sealed refrigerant charge from the outdoor unit’s service valves and, if additional refrigerant is required to match the line set length, adds the specified amount per the manufacturer’s installation manual. Charge verification uses both superheat and subcooling measurements taken at the service ports to confirm the refrigerant level matches the actual operating conditions. Your technician then powers the full system on and runs through a commissioning checklist that includes the following:
- Supply and return air temperature differential (typically 16 to 22 degrees)
- Outdoor fan, indoor blower, and compressor amperage checked against rated values
- Thermostat calibration and staging confirmation
- Condensate drain flow test with water poured directly into the drain pan
- All electrical connections torqued and verified for tightness one final time
Costs, timelines, and what changes the price
Understanding cost and timeline expectations before you start the ac installation process step by step helps you plan accurately and avoid surprises on installation day. Most homeowners in Southwest Florida focus entirely on the equipment price, but the total job cost includes labor, permits, materials, and any corrective work needed to prepare your home for the new system.
Get an itemized quote that separates equipment, labor, permit fees, and any additional materials before you sign a contract.
What a typical installation costs
A standard residential central split system installation in Lee, Collier, or Charlotte County typically runs between $4,500 and $9,000 for a full replacement, including equipment and labor. That range reflects a 2.5-ton to 5-ton system in a single-story home with existing ductwork in usable condition. Mini-split installations typically start around $3,000 for a single-zone system and rise quickly when multiple indoor units are added.
Permits add between $75 and $300 depending on your municipality, and the inspection is included in that fee. New line sets, when required, add $300 to $700 depending on the run length and how much access work is involved.
How long the job takes
A straightforward replacement on a home with accessible ductwork and no electrical upgrades typically takes four to six hours from start to finish. New construction installations or jobs that require ductwork modifications, panel upgrades, or new concrete pads take longer, often a full day or into a second partial day.
Permit timelines add one to three business days before work can begin in most Southwest Florida counties. Factor that window into your planning, especially if your existing system has already failed.
Factors that push the price up or down
Several variables move the final number outside the typical range. Knowing which ones apply to your home lets you ask smarter questions when comparing quotes.
| Factor | Typical Cost Impact |
|---|---|
| New line set required | +$300 to $700 |
| Electrical panel upgrade | +$800 to $2,500 |
| Ductwork repair or replacement | +$500 to $3,000 |
| Attic or difficult-access installation | +$300 to $600 |
| High-efficiency SEER2 equipment | +$500 to $2,000 |
| New concrete pad | +$150 to $400 |
Attic installations in Florida homes with tight access consistently add labor time and cost because technicians work in extreme heat with limited room to maneuver. Ask your contractor which of these factors apply to your specific job so the quote reflects your actual situation.
Next steps
Now that you know the full ac installation process step by step, you’re in a much stronger position to evaluate quotes, ask the right questions, and identify contractors who cut corners. Every step in this guide exists for a reason, and skipping any of them creates problems that show up months or years after installation day. Use what you’ve read here as your checklist when vetting any HVAC company.
If you’re in Lee, Collier, or Charlotte County and your system is failing, running inefficiently, or simply at the end of its life, Air Necessity is ready to walk you through the process from start to finish. Our technicians don’t work on commission, which means every recommendation you get is based on what your home actually needs, not what earns the highest margin. Schedule your AC installation consultation with Air Necessity and get honest answers before you commit to anything.