Searching for Expert Cape Coral AC Repair? Discover Reliable Cooling Solutions
Wondering what AC installation includes? The process involves evaluating your cooling needs, preparing the site, and installing both indoor and outdoor units. It also includes setting up ventilation, testing the system, and final adjustments. Knowing these steps can help you understand what to expect during AC installation.
Key Takeaways
-
AC installation begins with a comprehensive evaluation of your home’s cooling needs using the Manual J method to ensure proper system sizing and optimal performance.
-
Site preparation, including cleaning the area, inspecting electrical wiring, and making necessary repairs, is crucial for a smooth and safe AC installation process.
-
Proper placement and setup of both indoor and outdoor units, along with ensuring efficient ductwork and ventilation, are key to achieving optimal AC system performance and energy efficiency.
Comprehensive Evaluation of Your Cooling Needs
Conducting a comprehensive evaluation of your home’s cooling requirements is crucial prior to commencing the installation process of an air conditioner. This initial step guarantees the selection of an an air conditioner condenser and conditioning system that will deliver efficient performance and maximize energy efficiency.
Accurately sizing your air conditioning unit necessitates performing a precise calculation, often referred to as the Manual J method. It incorporates several aspects unique to your residence including:
-
type and quality of insulation
-
types of windows installed
-
local climate conditions
-
number of occupants
Employing this methodology for determining your precise cooling needs helps avoid complications associated with installing either too small or too large a cooling system.
Choosing an HVAC system that matches the size needed by your house promotes effective cooling, allows for potential energy savings, and enhances cost-efficiency. Air conditioners that are not adequately sized may fail to cool spaces sufficiently, which can lead to excessive consumption of energy and discomfort within those spaces. On the other hand, systems that are too large might cause inefficient operation and surges in electricity expenses. Taking these considerations into account enables you to pick out an air conditioning unit tailored specifically for optimal functioning according to GBithin tour household’s distinct prerequisites.
Site Preparation for AC Installation
To ensure a safe and efficient AC installation process, proper preparation of the site where the air conditioning system will be installed is crucial. This means conducting an examination of existing electrical wiring as well as performing requisite repairs or improvements to the electrical connections.
Begin by ridding the area intended for ac installation of all dust and debris which could potentially hinder progress. Not only does this help create a better working environment for your air conditioning installation and team, but it also helps prevent any pollutants from affecting how your new air conditioning operates once installed.
It’s essential then to meticulously evaluate both electrical panel and circuitry to confirm they meet necessary standards and can accommodate your new air-conditioning system’s power demands. Addressing any faults or complying with current codes ahead of time mitigates risks that may arise during implementation or post-installation operations.
Choosing and Installing the Indoor Unit

Choosing the appropriate indoor AC unit is key to achieving efficient cooling and optimal performance of your existing air conditioning system. When determining which unit to install, it’s important to consider various elements.
-
Purchase price
-
Construction quality
Sheerly_size Sourcing_of_energy.
-
Purity of circulated air
In selecting an AC unit, you should bear in mind:
Units with a higher cost and better quality are more durable and will last longer.
Picking out an accurately sized AC component can prevent insufficient cooling plus excess energy use.
Lastly, after settling on the suitable AC model, its installation process begins with setting up the mounting bracket for that interior portion. It’s imperative to locate this properly away from intensely lit spots so as not to compromise the efficiency due to social_system excessive heat exposure.
Setting Up the Outdoor Unit

Ensuring that the outdoor unit, a vital piece of your air conditioning system, is correctly installed can lead to stable and efficient performance. Follow these steps for proper installation:
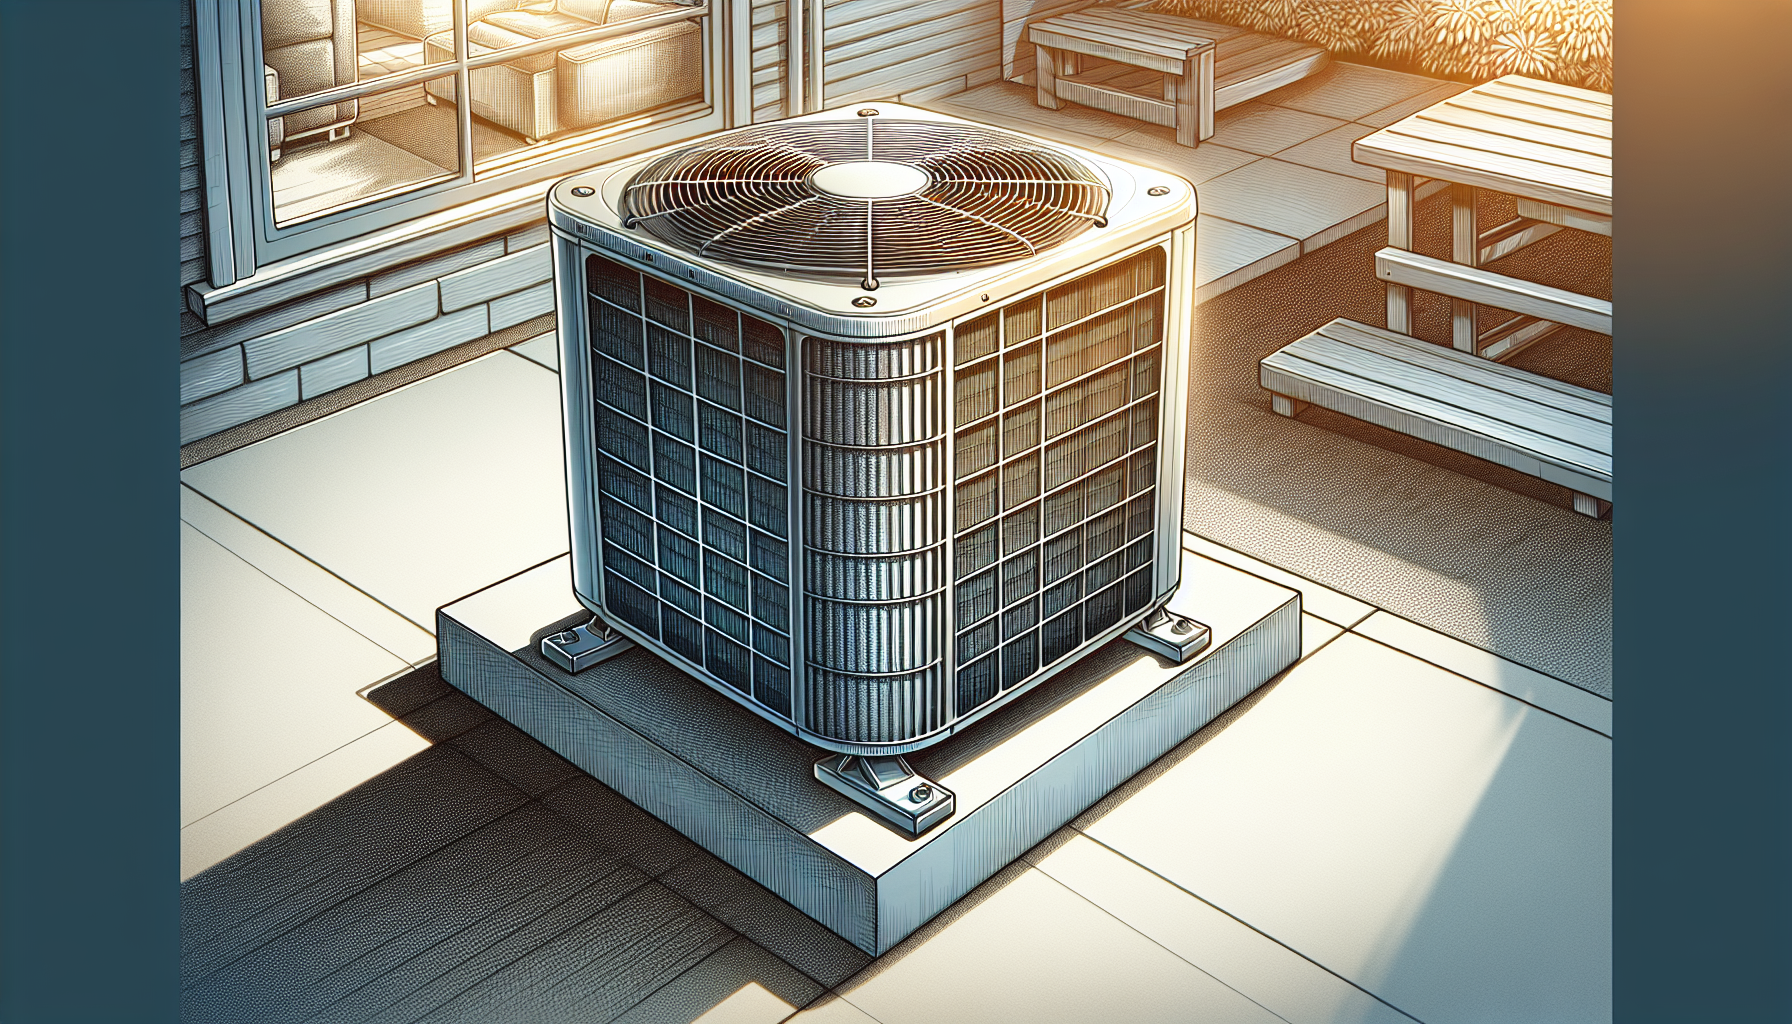
1. Mount the outdoor unit on a flat concrete pad to guarantee stability.
2. To reduce vibrations, insert a rubber cushion between the pad and the unit.
3. Affix the unit securely to this pad using anchor bolts so it remains stationary.
To maximize efficiency, both indoor and outdoor units should be placed thoughtfully. Positioning the outdoor unit in an area with shade away from antennas and electrical lines aids in boosting its effectiveness while preventing potential operational complications. It’s important to maintain at least 12 inches of space around all sides of the outdoors units for adequate airflow circulation and heat dispersion during operation.
Ensuring Proper Ventilation and Ductwork

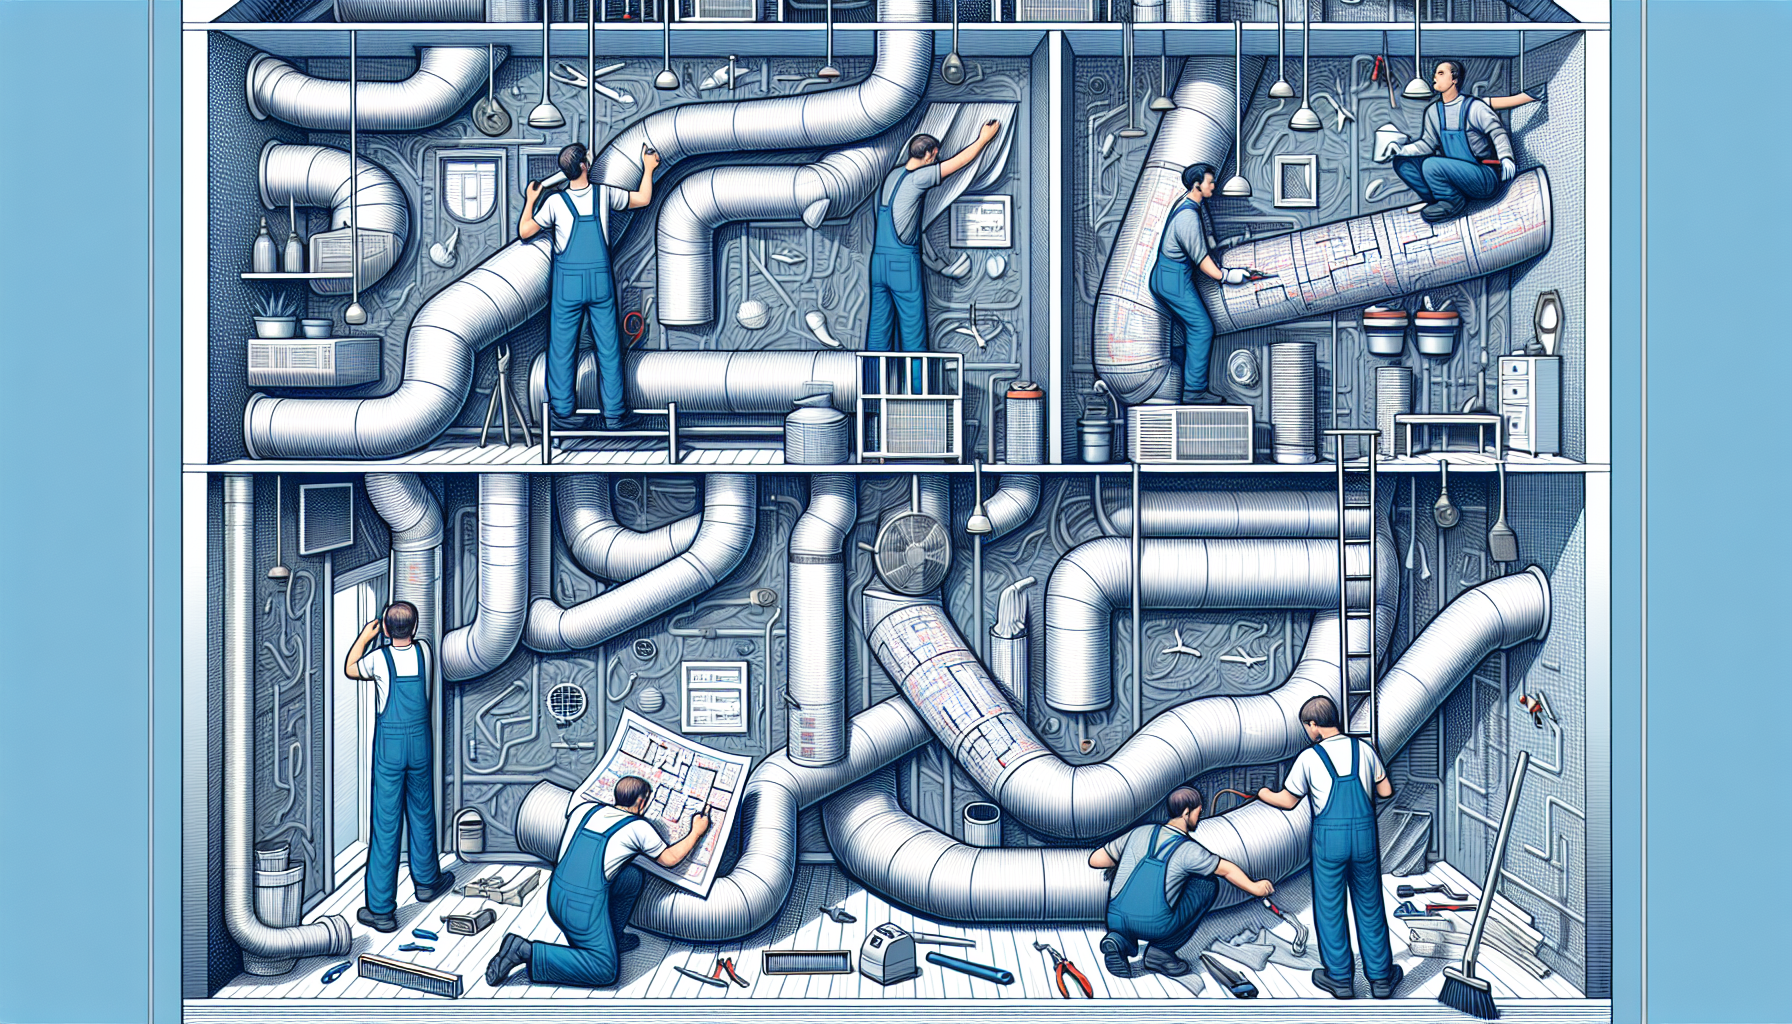
Ensuring that your new air conditioning system functions at its best requires appropriate ventilation and well-maintained ductwork. To promote efficient airflow and the spread of cool air throughout your residence, start with an examination of your home’s ductwork existing central air conditioner. Search for leaks, any damage, or insulation deficiencies that could impair airflow and cooling distribution. It is crucial to seal off any leaks or replace damaged portions to guarantee adequate ventilation for efficient cooling.
To keep existing HVAC equipment operating effectively.
-
Regularly clean or change filters
-
Remove debris from within the ducts
-
Apply proper insulation around the ductwork to reduce heat loss as cooled air circulates, allowing it to be delivered efficiently where needed.
Testing and Calibrating the System
Upon completion successful installation of the installation, the system must be tested and calibrated to ensure proper operation and functionality. Technicians begin by verifying that the system operates correctly and at its intended capacity, which helps prevent future problems. When performing this process, one should:
-
Check for unusual noises
-
Check for leaks
-
Check for airflow issues
-
Check cooling performance
This will help ensure that the system is functioning properly.
Proper handling of refrigerants is critical during this stage. Technicians use specialized instruments to measure temperature, pressure, and electricity, ensuring the system or unit operates efficiently and correctly. Calibration involves testing the accuracy of measurement instruments and making necessary adjustments for precise readings.
Sealing and Insulating Gaps
To boost energy efficiency and keep a steady temperature indoors, it’s crucial to seal and insulate openings around the AC unit. Employ foam insulation or weatherstripping for sealing any spaces surrounding the appliance. To prevent air leaks which improve insulation, use caulk or expanding foam for filling crevices around vents and chimneys.
By installing weatherstripping on doors and windows, you can also eliminate gaps through which air could seep out, thus augmenting energy efficiency even more. Adequate insulation serves as a defense against changes in outside temperatures, assisting in preserving an even indoor climate while maximizing energy efficiency.
Final Inspection and Adjustments
Technicians ensure your air conditioning system is primed for peak efficiency by conducting a thorough final examination and fine-tuning. Their duties encompass:
-
Verifying the refrigerant levels and pressure
-
Examining and securing the electrical components, comprising wiring and capacitors
-
Identifying any loose fittings or leakages
-
Adjusting the thermostat for accuracy
-
Applying lubrication to critical parts for smooth and effective operation.
Removing obstructions from internal vents, including those caused by furniture or draperies, promotes adequate airflow. Technicians also go over operational data they have gathered with you to help clarify how well your AC system is performing.
Post-Installation Cleanup
The last phase of the AC installation process is a meticulous cleanup after the unit has been installed. This step requires clearing away all remnants and packing materials from where the installation took place.
It’s critical to safely stow away any tools utilized throughout the installation to confirm that nothing is overlooked, preserving a tidy work area once the job is completed.
Customer Education and System Startup
Instructing customers on the use and upkeep of their new air conditioner is a vital component of the installation process. Technicians not only show how to manage the thermostat, but also describe maintenance procedures and safety elements associated with the new AC system itself. Following these explanations, they will initiate the system’s startup to ensure it functions properly.
Warranty Information and Maintenance Plans
It is crucial to safeguard your investment in installing a new air conditioning system by contemplating warranties and upkeep strategies, which are equally important for both your current and newly installed AC systems.
When seeking AC installation services, one should expect the following:
-
Lengthy warranties that offer coverage for part repair and replacement, often extending up to 10 years provided registration occurs soon after acquisition
-
Consistent maintenance coupled with prompt repairs aimed at maintaining peak condition of the AC unit
-
Adherence to warranty conditions guaranteeing protection from a trustworthy ac installation service
Implementing these actions ensures an extended operational life for the AC system while also granting homeowners added assurance.
Summary
In summary, a successful AC installation involves a comprehensive evaluation of your cooling needs, thorough site preparation, correct installation of both indoor and outdoor units, and ensuring proper ventilation and ductwork.
Proper testing, calibration, sealing, and insulation, followed by a final inspection, customer education, and cleanup, all contribute to the system’s optimal performance and longevity. Investing in an HVAC Company like Air Necessity protects your investment, ensuring comfort and energy savings for years to come.
Frequently Asked Questions
Why is an accurate HVAC load calculation necessary?
To ascertain the correct size of an AC unit for peak performance and energy efficiency, a precise HVAC load calculation is vital. This guarantees that the system will be neither too large nor too small, resulting in cost effectiveness and enhanced comfort levels for those residing within the space.
What should be checked during site preparation for AC installation?
When preparing a site for the installation of an air conditioner, it is crucial to ensure that the space is clean and inspected. Examination and maintenance of electrical wiring are essential to assess if any repairs or improvements are required.
How do you ensure proper ventilation and ductwork?
Make certain to inspect and repair any leaks, harm, or insufficient insulation in the ductwork to guarantee proper airflow and functioning of the system.
Consistent checks on your HVAC systems coupled with adequate insulation are vital for upholding efficiency in ventilation and ductwork.
What is involved in testing and calibrating the AC system?
To ensure the efficient operation and prevent potential problems, it is essential to test and calibrate the AC system. This process includes confirming that the system operates correctly, detecting any strange sounds or leaks, and guaranteeing precise measurements and charges of refrigerant.
Through these procedures, one can verify that the AC system functions at optimal efficiency while proactively avoiding future complications.

